Creating Astronomical Images
digital data. Sensors don't detect
color. Filters determine the wavelengths saved as a file. All astronomy images
are constructed from the data and show some artistic license.
This doesn't make them "false
color" but rather representations! Everything is 1s and 0s ultimately.

Astronomy uses a digital
file format called FITS (Flexible
Image Transport System). This is a 32-bit
file which means each pixel or
element on the CCD (camera) can hold
a value from 0 - 232 or 4,294,967,296!
This is the intensity of light detected by that pixel through that filter.
A smart phone camera can only handle 8 bits per pixel! That's only 256 levels per color.


CCD cameras or detectors
are really like an array of photon buckets. A FITS file allows for a CCD array
made of HUGE buckets! You can see the different sensors with the associated
filters.
Astronomical data doesn't use
"true color" but representative color. This means different colors can represent
different things from actual visible colors, to invisible colors like Infrared,
to specific elements!
Colors are assigned digitally
using a color table. Colors are assigned for aesthetics and science. The
creator gets to choose what channels get what colors. Non-visible light need to be assigned a color to be seen at all!
Now it's your turn. These
instructions assume you are using GIMP (free image manipulation software
program).
It should be preinstalled on the school laptops.
First download the file for
NGC 5139 that I have prepared for you.
NGC 5139 - Link
Clicking on the download should launch the GIMP editor
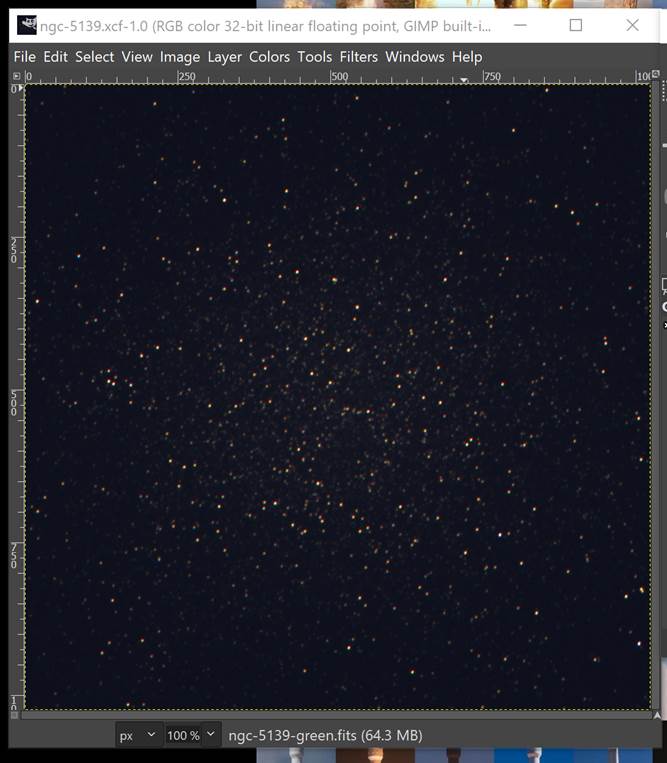
● Open the
file in GIMP. You should see something like this!
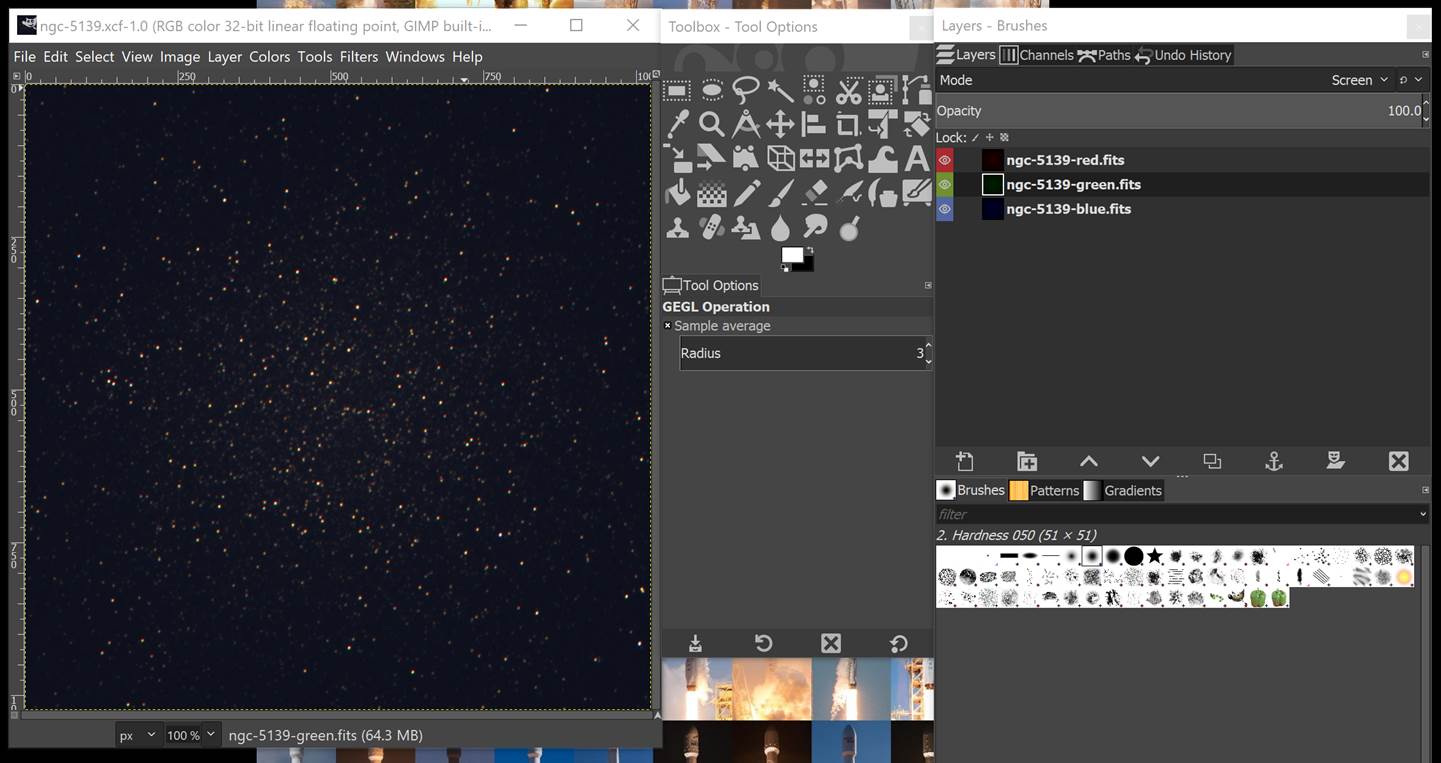
Lets look at
each part
Here is the what your image looks like based on your
settings
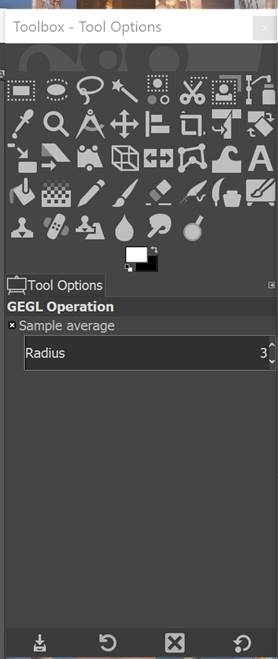
This is the photo editing toolbar. You will not be using this for this lab.
Here is the layer control panel. You can adjust how
strong the different layers are, and even change their color! This image is
combined from three images, each with a filter to only allow red, green, and
blue light in.
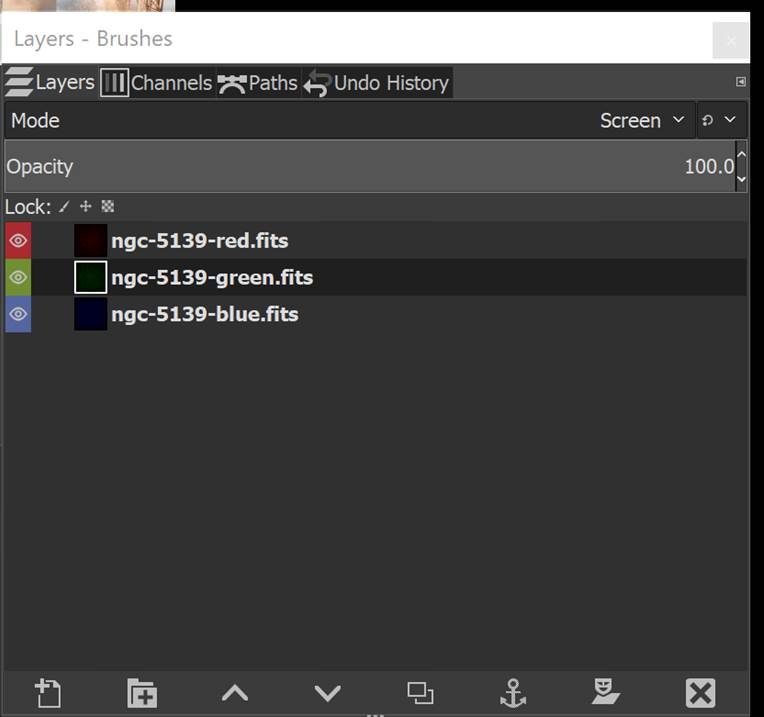
Lets do this now!
Select the green layer and adjust the opacity (strength) to 0.
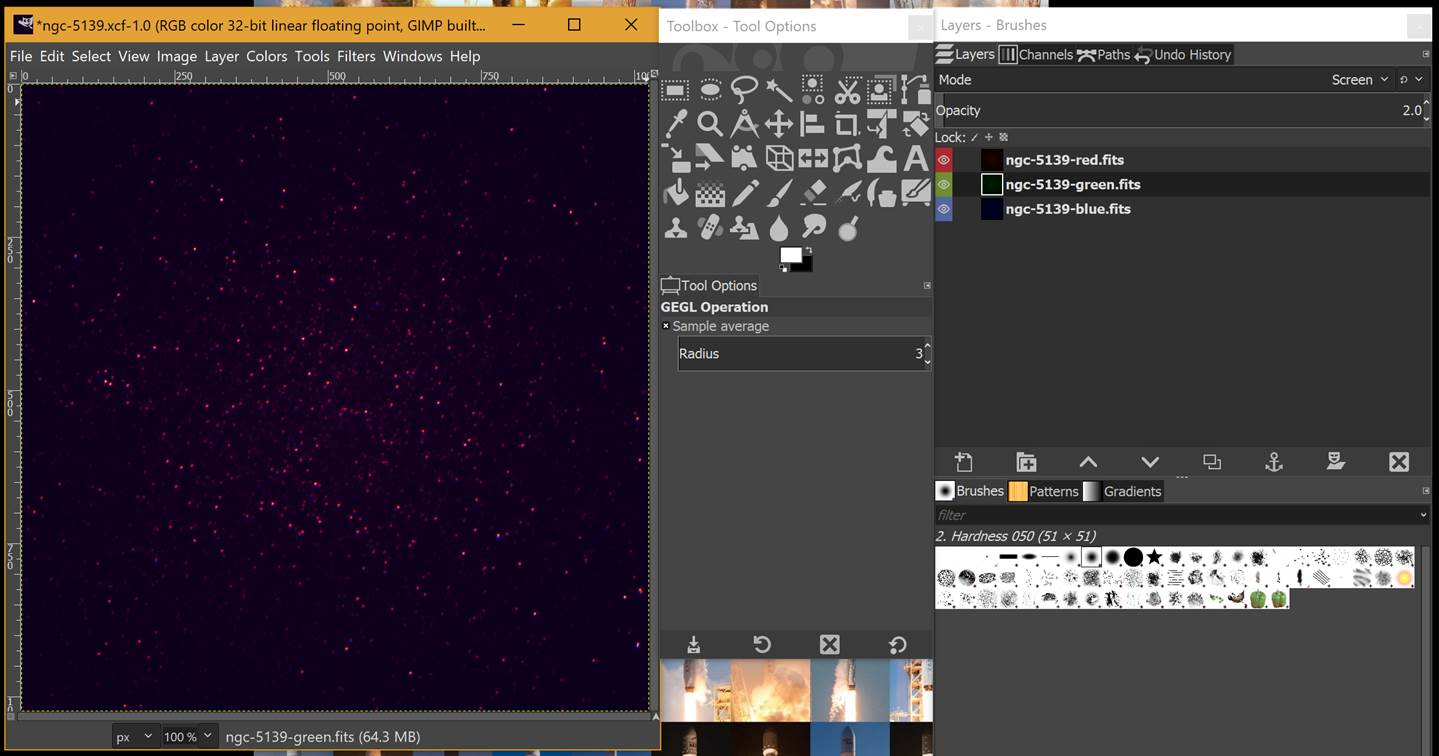
No purple stars in real life? Not a problem with
computer science!
Changing the color of each layer is also possible. Open the Color menu and find
Colorize near the bottom. You can adjust or change the color for that layer!
This will be handy later. You can keep your change or turn it back.
The colors picked for filters is a choice however and
the creator sometimes changing things up either to show some particular
feature of the object in question or just for aesthetics.
There is a special way to copy the image you created,
so you can paste it into your assignment document. Open Edit and then pick Copy
Visible. Move to the assignment and paste the image into the box for that
image! You may need to use the keyboard shortcut Ctrl-P.
Huzzah! That is it for this
image. You may also export your image it to png or jpg so you can show it off.
Extra: Go to the Color menu and find
Brightness-Contrast. Explore those options for extra pretty.
Next Image: Jupiter! Download http://www.mrradford.com/astronomy/imaging/JunoCam-893.xcf
and open the Junocam file. You should see an image of
the largest planet in our solar system taken a couple of years ago by the Juno
spacecraft currently in orbit around this gas giant.

This image was also taken with three visible light
filters, red, green, and blue. You will need to colorize this image yourself!

Extra: Explore brightness and contrast as well as the
sharpness setting. There is also a levels control where you have fine grained
control over how colors show up in the final image.
Copy visible once you have things just so and paste
into your lab sheet. File � Export
your image as a png or jpg if you want to share it on
the Snapagram Books�.
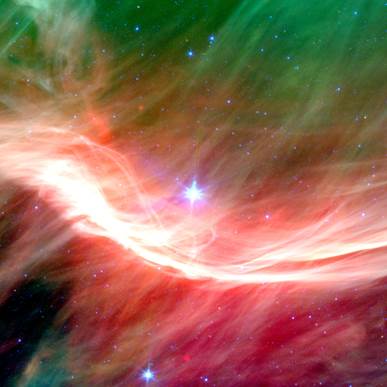
You should create color images for NGC 5139, Jupiter, the
Helix Nebula, and Zeta Ophiuchi.
The data sets (FITS images) for the Helix Nebula and Zeta Ophiuchi are not visible light, but
are IR data from the Spitzer Space Telescope. The FITS images for NGC 5139 were
taken using a remote telescope system by the author.
Video: How to make a 3-color image using GIMP https://www.youtube.com/watch?v=56-ZaZbA3S0
Based on https://lco.global/how-to-create-stunning-colour-images-of-the-cosmos/
Modified further by https://docs.google.com/document/d/1A3ZyPnlquFqGg2iIS7mAW-ljiDbkM9wC3mIESksBzhw
![]()
This
work is licensed under a Creative Commons Attribution-NonCommercial-ShareAlike 4.0 International License.